Showing posts with label Bases. Show all posts
Monday, 25 November 2013
Base using Tree Bark - No Painting Required - Hobby 101
I have been exploring this theme of basing with materials that look good without any painting done to them, namely the pepper and herbs. I was looking for something to base my Luna Wolves model on.
My thoughts turned to the possibilities of bark on its own, so I rummaged around a few trees in my area and came across a lovely textured bark that was reasonably flat and seemed perfect for my purposes.
The bark even has two different textures, one on the outside and one on the inside for more options.
I chose the option shown by the green arrow.
All I did was cut out a circular shape to fit my base and glue it in place. No painting!!
You cant get much simpler than that.
Vitor.
Monday, 16 September 2013
Flames of War Pak40 Base
The base was done using modelling sand, herbs and flock grass. A note here is that the ammunition boxes and shells are the standard FoW metal bits that come with the 'Open Fire' Set. I am pointing that out with something in mind for a future post is you are interested.
Next up the actual Gun.
Vitor.
Monday, 2 September 2013
Creating a Base using Herbs and Pepper
Want a base so good you can eat it, literally?
Furthering my experiments with basing techniques I wanted to create a base that was quick, easy and required no painting whatsoever.
I have in the past already used herbs and black pepper on bases but never together. So I decided to try it out.
I started with a thin plastic card cut to size, it is for my Flames of War Pak40, but can be used for any type of game system.
I painted a layer of PVA glue on each side of the plastic card just to give it a bit more stiffness. Then I primed the base, in this case a grey primer. ( not really required )
Once that was done I painted another layer of PVA glue on one side and using my pepper grinder I ground out the pepper corns over the base until it was covered.
Once that was dry I painted some small areas with PVA again and sprinkled my chosen herbs, Oregano, over the base and let it dry.
The result is pretty damn realistic and no painting required.
Hope you have a go at this as it is super easy and fun.
Vitor
Saturday, 1 June 2013
Base - Space Hulk using Computer Circuit Board - Part 2
After looking at the base for a bit more I felt that I wanted to have some 'metal' showing through. I thought about just giving it a drybrush with Boltgun Metal which would give me the edge highlight I was after but then not the metal 'undertone' I wanted.
At this point I decided to start over and use a metal colour for the base instead of the dark brown.
Next a wash of 50/50 black and brown.
Followed by my custom 'Verdigris' wash.
Now you can see the metal showing through.
To finish off I used mt custom 'Rust' wash and all done!
I don't know how much different it would have turned out if I had just drybrushed the previous incantation but the metal is showing through and I think the result is better overall.
Vitor
Tuesday, 28 May 2013
Base - Space Hulk using Computer Circuit Board
I have been collecting pieces of computers for awhile now with the intention of making a nice piece of terrain out of them, unfortunately I never seem to find enough time. This made me think about something smaller in scale that would demonstrate the potential of computer bits. My idea for the base was to make it look like the model would be walking in an abandoned, rusted Space Hulk corridor.
I started off by cutting a small piece from the motherboard about the size of a 20mm base and primed it black.
I then painted it Dark Brown.
Next I painted it with my Verdigris mix that I use for my Minotaur Space Marines, leaving some of the Brown showing through.
I then washed the base with my custom Rust mixture.
At this point I liked what I had, a nice rusty, corroded look.
After looking at it for a bit more I felt that I wanted to have some 'metal' showing through. I thought about just giving it a drybrush with Boltgun Metal which would give me the edge highlight I was after but then not the metal 'undertone' I wanted.
At this point I decided to start over and use a metal colour for the base instead of the dark brown. See next post to see how it works out.
Vitor
Tuesday, 7 May 2013
Flames of War - Bases with Plastic Card and Herbs
When I was almost onto the painting stage of my paper card bases I saw, sitting on my desk, a file with a hard plastic cover. I had a second look and discovered it might be perfect, it was sturdy and very thin.
I cut out two sections and followed the same procedure as with the paper bases, namely paint white glue on both sides allow to dry then apply sand on one side. I painted up my sand with a base of Scorched Brown, drybrush with Bestial Brown followed by a drybrush of Bubonic Brown and finally Bleached Bone.
When you compare the two bases side by side you can see that the plastic card base with the sand is as high as the official base without any sand added, that makes the base about 1.5mm lower overall, a big difference in 15mm scale miniatures.
As Flames of War is historical I wanted to make the base look realistic so I decided to experiment with adding herbs to the base. I used a mix of Oregano and Thyme with some Scenic Grass.
I think the end result came out very well and I will be using this method for the rest of my army.
Vitor
Saturday, 4 May 2013
Flames of War - Infantry Bases too High for Models?
When Flames of War first came out I was initially put off by the bases of the infantry, in particular the height in relation to the model standing on it (picture above courtesy of Battlefront). The base is a few millimeters high and in 15mm scale it seems too high when placed next to a tank or vehicle.
However when the Open Fire starter set came out (all plastic) I could no longer resist and bought my box set. Now that I am finally getting around to painting the models up, tanks have no base so were no problem, I am faced with my initial problem, the base height. I thought about a solution and decided that card was the thinnest material that could be sturdy enough to do the job and set about making a card base for my infantry.
I took a base, drew an outline on card and cut it out.
It was pretty flimsy so I painted white glue on one side, let it dry, then did the same on the other side. Once both sides had a layer of white glue on it the bases were more sturdy. I then glued the sand onto the base and the end result was remarkably sturdy.
Just before I was going to prime and paint my bases I discovered something a lot better.....see next post.
Vitor
Sunday, 10 February 2013
Basing with Ground Black Pepper and Weathering Pigment
I came across an article on this a little while ago and wanted to give it a try. I mean black pepper! the stuff you put on your food as a basing material. As it turns out it works pretty well. I have been wanting to get a nice method for a red blasted volcanic type planet surface and I think this might work out.
I started the base gluing some larger pieces on to represent bigger stones.
Next cover the base with white glue or PVA glue and grind away with the pepper mill.
Paint it the chosen colour.
Add the pigment and remove excess, apply spirit to hold or set pigment in place and finish paint job.
For those eagle eyed readers that noticed the finished base is not the same as the one with the stones on that is because I had to redo it. The first attempt I applied the pigment directly to the pepper and then the spirits which promptly melted the white glue, so don't do that! paint it first.
Let me know what you think with a comment below.
Cheers
Vitor
Friday, 11 January 2013
Pre Heresy - Thousand Sons - Finished
Here he is! the non 'politically correct' armour wise Pre Heresy Thousand Sons Marine. I am really happy about how this model turned out bearing in mind I started on his shoulder pad sculpt as a bit of trial and error thing to see how difficult it was going to be to do and I made the 'Decorative Base' from card and painted it to look like a ruined floor from some ancient temple.
The sculpt painted up real nice and I made a press mold for future models.
Some more pictures.
Let me know what you think.
Vitor
Friday, 21 December 2012
Decorative Ruin Base
I am slowly coming out of my creative slump thankfully and I have spent the last few days playing around with this base. The idea of a decorative ruin base is part of my Thousand Sons test mini and I thought about placing my Marine on such a base as I imagined he would be walking around some partially uncovered ruins on his home planet Prospero.
As usual I the conditions I set down for my self were that it had to be cheap, easy to make, easy to obtain the stuff used on the base and lastly it had to include left over plastic sprue.
I unfortunately could not include the sprue because my idea was just for the decorative floor to be partially visible through the sand.
I started with a piece of card (the type that your models come in from GW) cut to the shape I wanted. I glued it 'plastic side' down, then drew on a design with pen on the paper side, pressing quite hard as I want to see the design after applying paint etc.
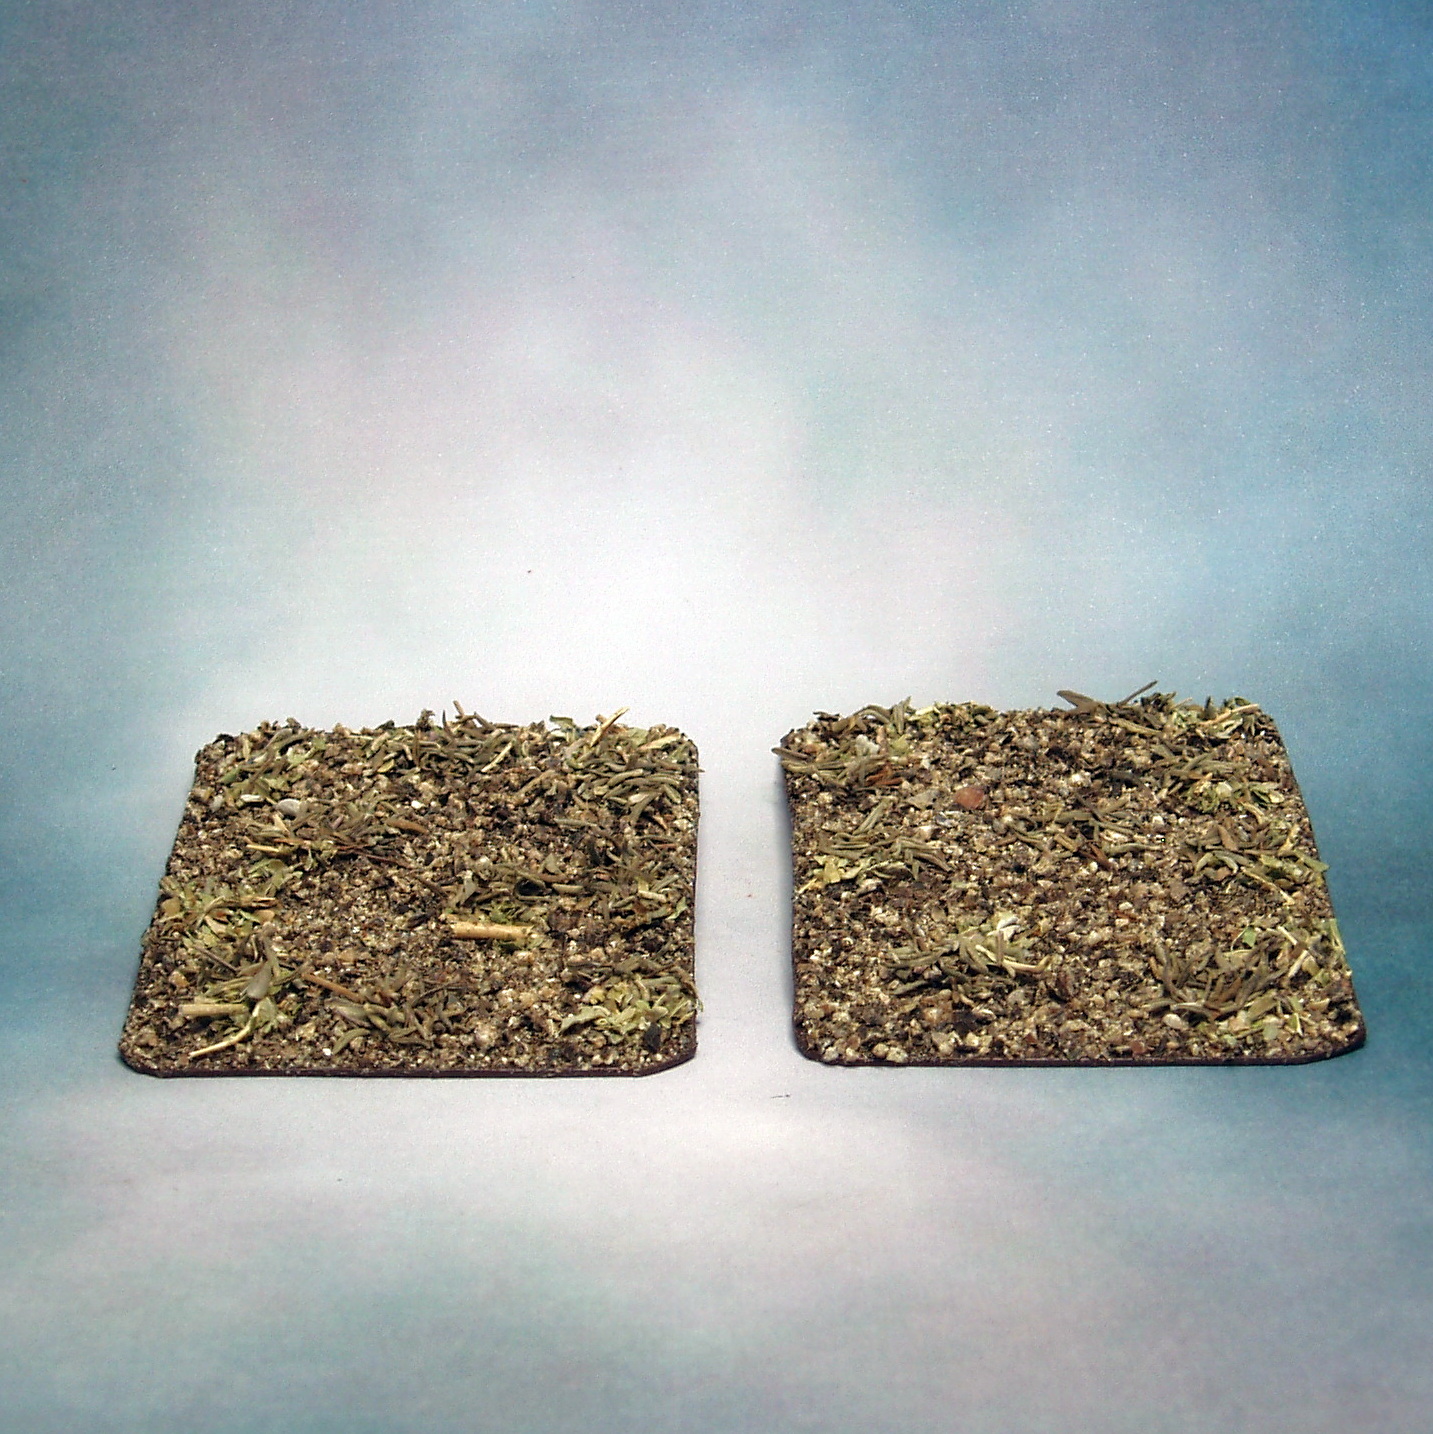
Next was to add the sand, I live by the sea and use sea sand which can be a bit fine as I had to redo some on this base.
Apply base colours, I didn't even prime this base before painting it.
As I was going for a marble look I started with Codex Grey then mixed in more and more white for the next couple of layers. I applied a very diluted paint in blotches to give the impression of the different hues in marble. When that was dry I used diluted mixes of Ogryn Flesh wash and Black wash to create the marble 'lines' across the surface. Then when it was dry I went in with diluted Blue and Red washes and painted in the pattern. Once that was dry I went back with my grey/white mixes and touched up the buts that I thought needed it.
Paint the sand as per your taste, add grass and that's it.
The next post will show my Thousand Sons Marine as he is now almost finished.
Hope you like the base. As far as my conditions go it cant really be any cheaper and easier.
Comments welcome as usual.
Vitor
Wednesday, 3 October 2012
Hobby 101 - 40k Urban Bases Painted Up
Here is the finished base.
To paint it up I started with a Black primer followed by grey base coat, see pictures below.
Next I painted the base coat of the bricks with Graveyard Earth mix as I didn't want the entire base in grey. I also painted the metal bits with Boltgun Metal, when it dried I gave it a wash of Nuln Oil.
Next I drybrushed Graveyard Earth over the bricks again and gave it a Dark Brown Wash. The metal bits I washed with a mix of Ogryn Flesh and Vermin Brown.
I then drybrushed everything again with the original base colours to bring out the detail.
Now I washed the sand areas with Nuln Oil followed by a Dark Brown wash, once dry a drybrush of the Grey Base colour.
It was almost done, the only thing I wanted to add was more rust effect on the metal so I carefully stippled some more Vermin Brown on and that's it, all done.
Overall it was quick and easy and the end result turned out pretty neat.
Happy basing.
Vitor
Subscribe to:
Posts (Atom)