Showing posts with label Pak40. Show all posts
Sunday, 8 February 2015
Italeri 1/72 Scale WW2 German PAK 40 - Finished
I am happy to present the finished model. Above the model is lying in wait for that Sherman from 'Fury' to cross the bocage into the field and meet a grizzly end.
I used the same ground black pepper and oregano herb technique for the base as standard for my army. I also applied the 50/50 mix of brown and black wash and highlight or dry-brush where necessary to finish off the models.
Here are some pictures without the scenery.
Let me know what you think
Vitor
Thursday, 29 January 2015
Italeri 1/72 Scale WW2 German PAK 40 - WIP
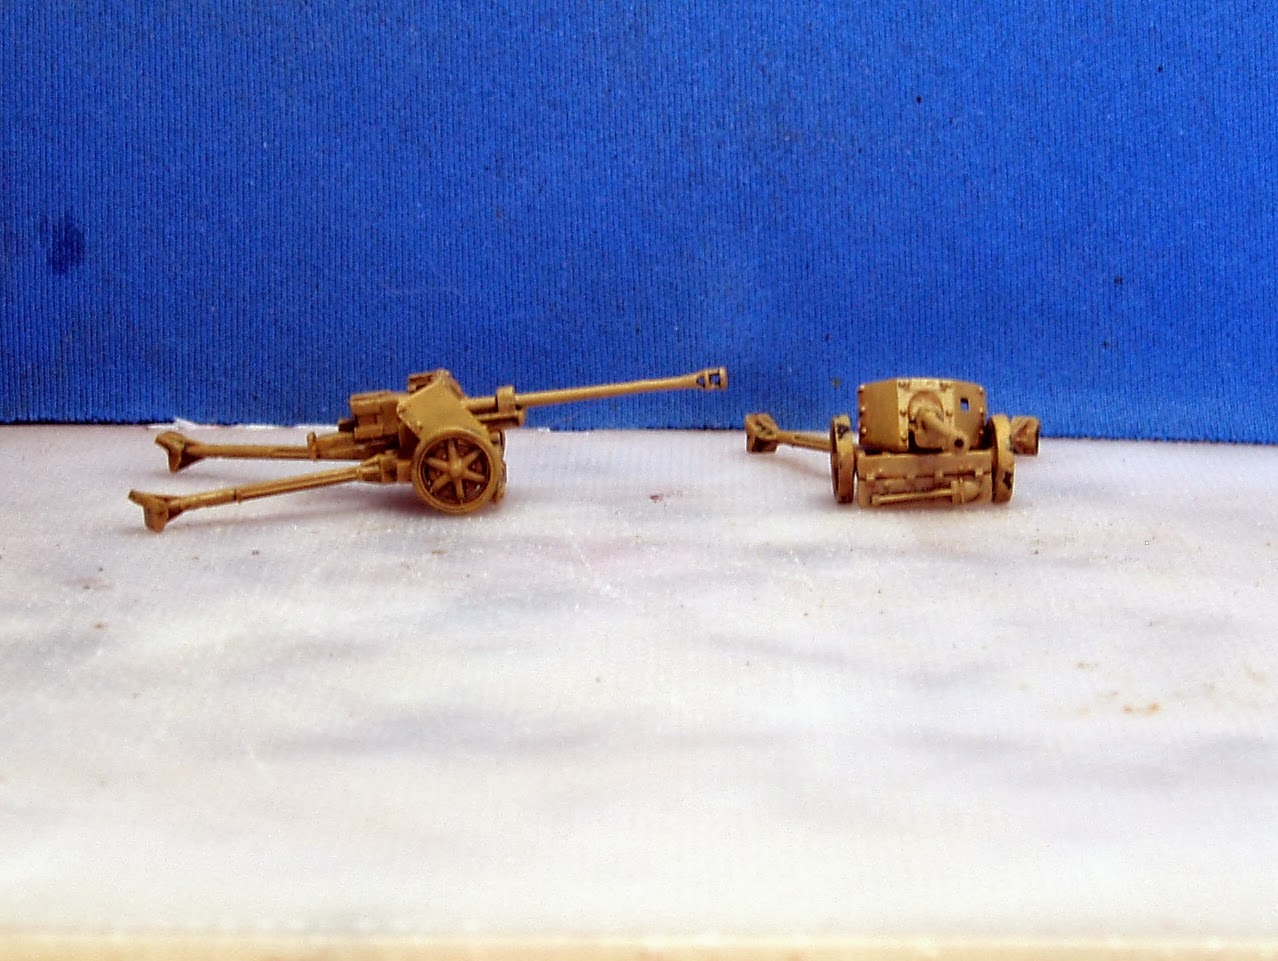
The final model in this amazing set is the Pak40. The Pak 40 formed the backbone of German anti-tank guns for the latter part of World War II and was developed in 1939-1941 by Rheinmetall.
The Pak 40 was first used in Russia where it was needed to combat the newest Soviet tanks.
The tables below show the effectiveness of the ammunition.
Panzergranate 39 (PzGr. 39) - APCBC
An armour-piercing, capped, ballistic cap projectile with explosive filler and tracer.- Weight of projectile: 6.08 kg
- Muzzle velocity: 790 m/s
Range | Penetration at 30 degrees from vertical |
---|---|
100 m | 106 mm |
500 m | 96 mm |
1000 m | 80 mm |
1500 m | 63 mm |
Panzergranate 40 (PzGr. 40) - APCR
An armour-piercing, composite rigid projectile with a sub-calibre tungsten core.- Weight of projectile: 4.05 kg
- Muzzle velocity: 990 m/s
Range | Penetration at 30 degrees from vertical |
---|---|
100 m | 143 mm |
500 m | 120 mm |
1000 m | 97 mm |
1500 m | 77 mm |
I started with my usual grey primer.
Then followed with Middlestone base colour. Then a heavy brown / black wash.
Next the crew which I painted up with Field Grey and Brown for the uniforms. I did do a bit of customization to get the crew to fit and I used a separate model from another box set as the Italeri set does not come with enough crew for all the models.
The Canon is painted with a base brown camouflage of a 50/50 mix of Middlestone and Chocolate Brown and a 70/30 Chocolate Brown and Middlestone mix for the center part of the camouflage. The green was a 50/50 mix of Reflective Green and Middlestone as a base then a 70/30 mix of Reflective Green and Middlestone for the center of the camouflage.
The completed model soon.
Vitor
Tuesday, 22 October 2013
Flames of War - Pak40 Ammunition Crates and Shells Press Mold Finished
Well here it is!
All I had to do was add some highlights and attach the pieces to my Herb and Pepper base.
Below is a picture of the 2 guns together.
I am pleased with the end result considering that the castings were far from perfect.
Vitor
Labels:
Black Pepper,
Flames of War,
Herbs,
Pak40,
Press Mould
Friday, 11 October 2013
Flames of War - Pak40 - Base Comparison
I wanted to show the different look between the standard base you get with the Pak40 and the one I did with Herbs and Pepper.
The picture above shows the gun on the base as you would assemble it normally.
Below is the gun on the thin plastic base with Pepper and Herbs. It is my intention to base my force on these type of bases.
Which do you prefer?
The other item of note here is that I did a press mold of the metal ammunition box and shells to use on my new base. I will show that on the next post.
Vitor
Thursday, 26 September 2013
Sunday, 22 September 2013
Flames of War Pak40 - The Gun
So onto the gun, I started with a black Primer, which turned out to be a bad choice as my custom Middlestone mix didn't have good coverage.
I needed two coats.
Next was a heavy brown wash, then clean up with Middlestone again.
The camouflage was as per the Open Fire video guide on the Official website.
The base brown camouflage was a 50/50 mix of Middlestone and Chocolate Brown and a 70/30 Chocolate Brown and Middlestone mix for the center part of the camouflage. The green was a 50/50 mix of Reflective Green and Middlestone as a base then a 70/30 mix of Reflective Green and Middlestone for the center of the camouflage.
Last a drybrush of Middlestone, followed by another drybrush of Bone or Ivory.
Next post the complete package.
Vitor.
Monday, 16 September 2013
Flames of War Pak40 Base
The base was done using modelling sand, herbs and flock grass. A note here is that the ammunition boxes and shells are the standard FoW metal bits that come with the 'Open Fire' Set. I am pointing that out with something in mind for a future post is you are interested.
Next up the actual Gun.
Vitor.
Friday, 13 September 2013
Flames of War Pak40 Crew
I began painting the crew with the base colours over a black primer. The colours are custom mixes I made, so I cant really give you the exact names.
Next was a application of a lighter shade of the base colours.
Then a wash with a 50/50 mix of black and brown wash. Once that was dry a highlight of the Lighter shade.
Stay tuned for the gun in the next post.
Vitor
Subscribe to:
Posts (Atom)