Showing posts with label Open Fire Starter Set. Show all posts
Tuesday, 28 January 2014
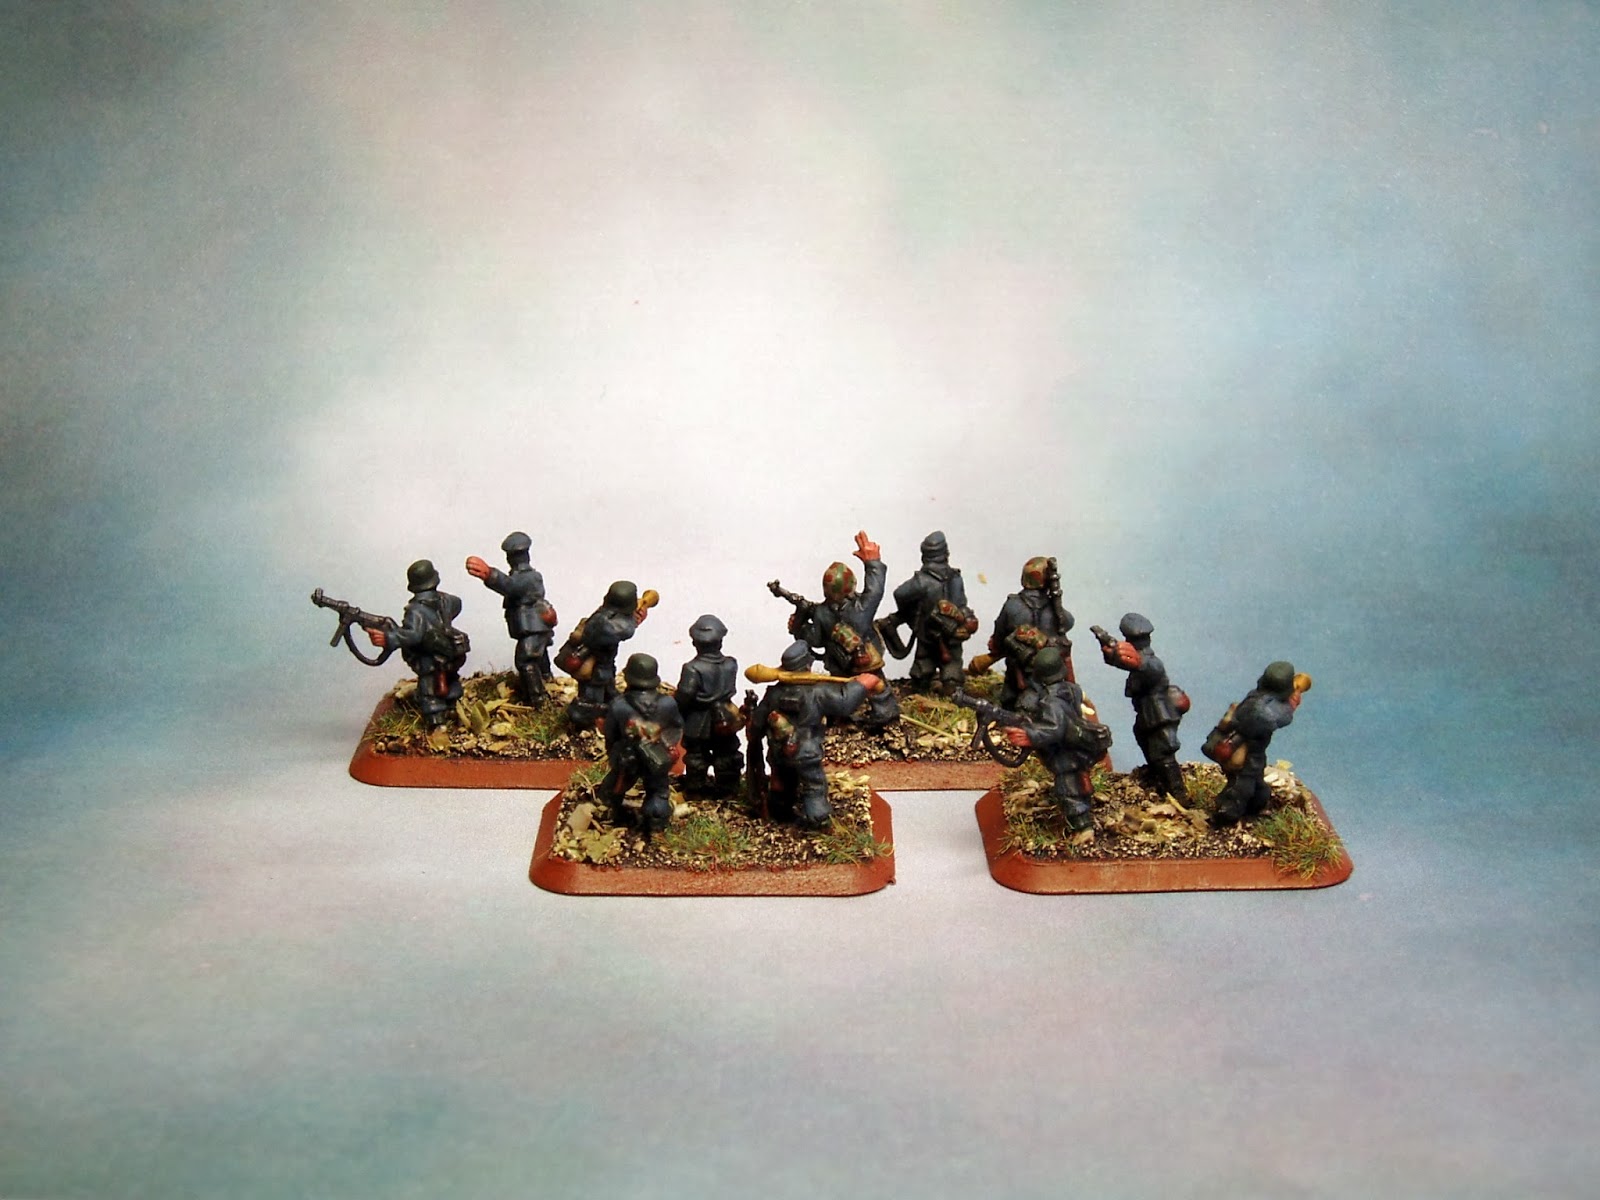
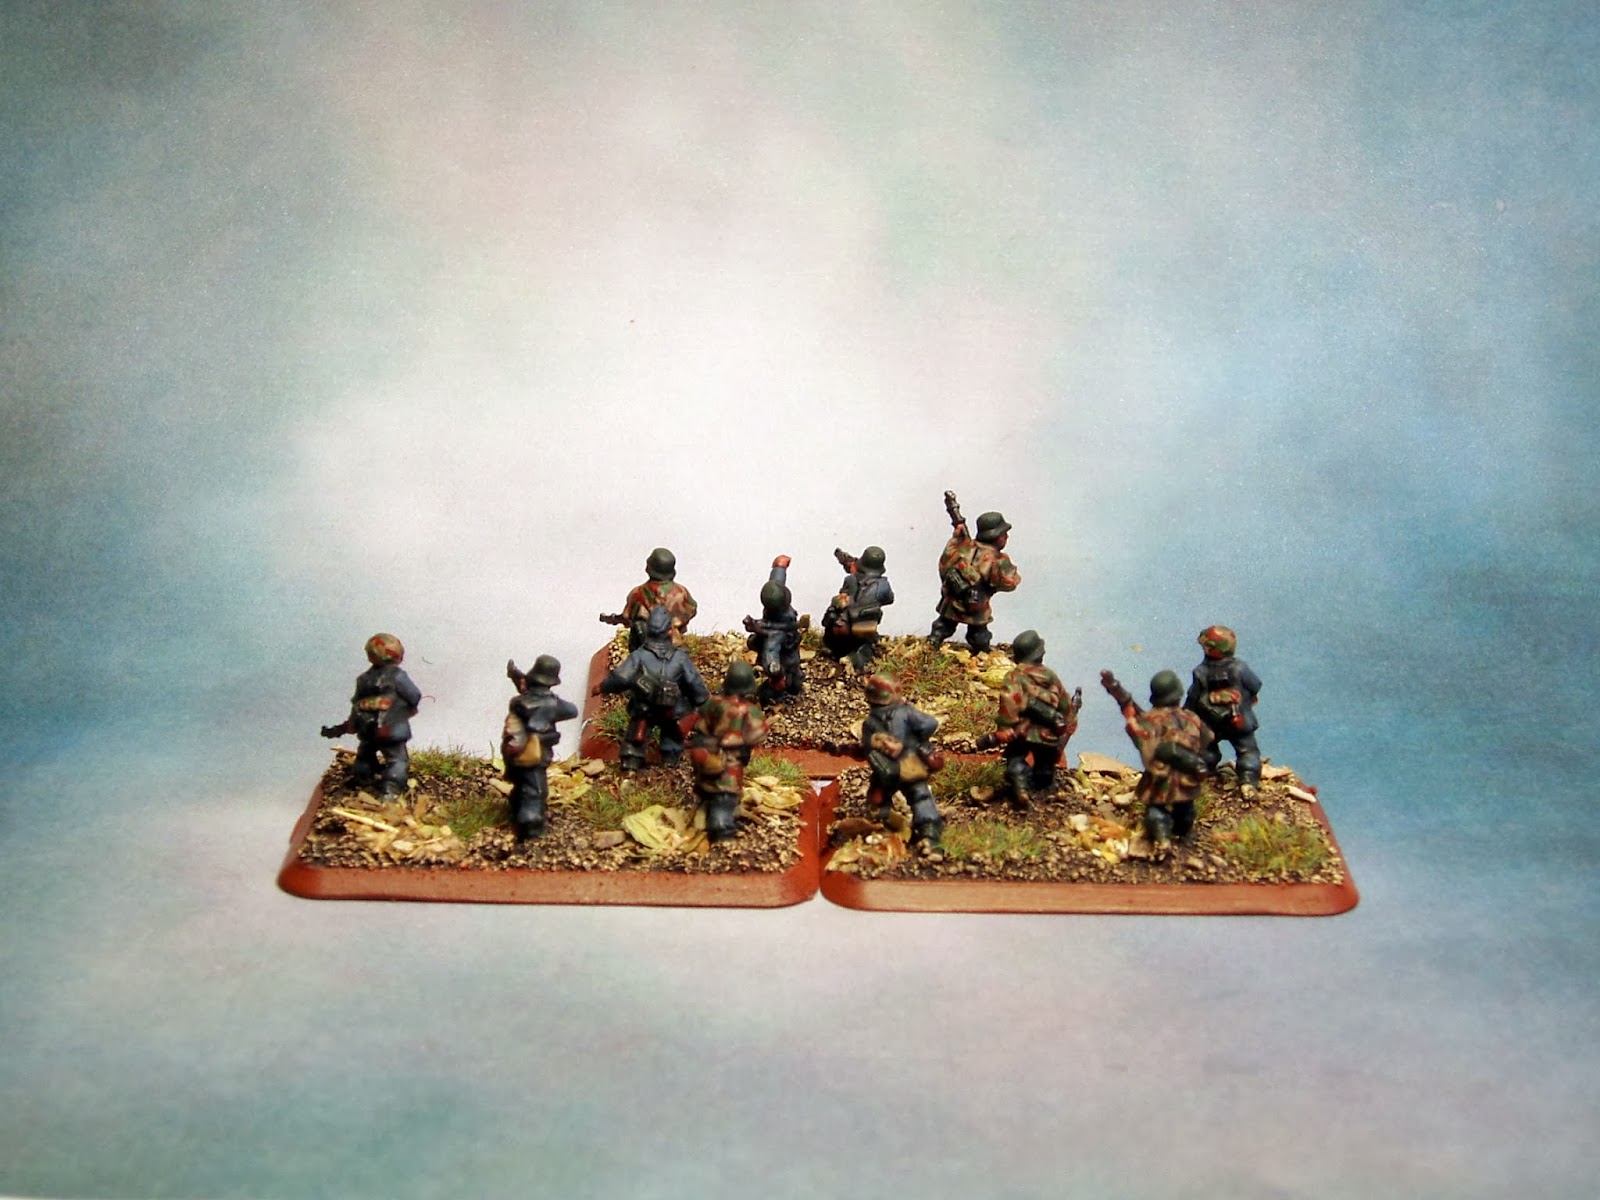
German Grenadiers - Flames of War - Open Fire Set Finished
So all done, completed the wash and highlights. I am happy with the end result but can say that I don't want to see a 15mm figure for a while.
I have taken pictures of the figures arranged by the type rather than how they are represented in the rules.
Here are the Officers and NCO's
The Panzerschreck Team.
The multiple LMG sections
Finally the Rifle sections
Hope you like the way they turned out and leave a comment if you do.
Vitor
Tuesday, 21 January 2014
German Grenadiers - Flames of War - Open Fire Set
So trying to stick to my plan which is to finish this amazing Open Fire starter set. As you can tell from the picture above I attached the figures to the bases first then added the sand, primed them with grey then started to paint the base.
I then painted all the infantry in the base colours which I have used the closest GW colours and for the uniform I made my own custom blend.
Progress is slow with these miniatures as the scale prevents fast painting compounded by the immense detail on them. Very nice figures but the scale is starting to worry me!! don't know how much more of these guys I can paint without my eyes going squint..lol
Vitor
Tuesday, 14 January 2014
American Paratroopers - Flames of War - Open Fire Set - Finished
So here is the finished result. I added highlights after the wash and finished off the bases with grass and herbs.
Here are some pictures of the individual sections.
The Leader with Mortar and Bazooka.
The rifle section.
The MG section.
I found them to be very fiddly to paint because of the 15mm scale otherwise they turned out pretty well.
Vitor
Monday, 6 January 2014
American Paratroopers - Flames of War - Open Fire Set
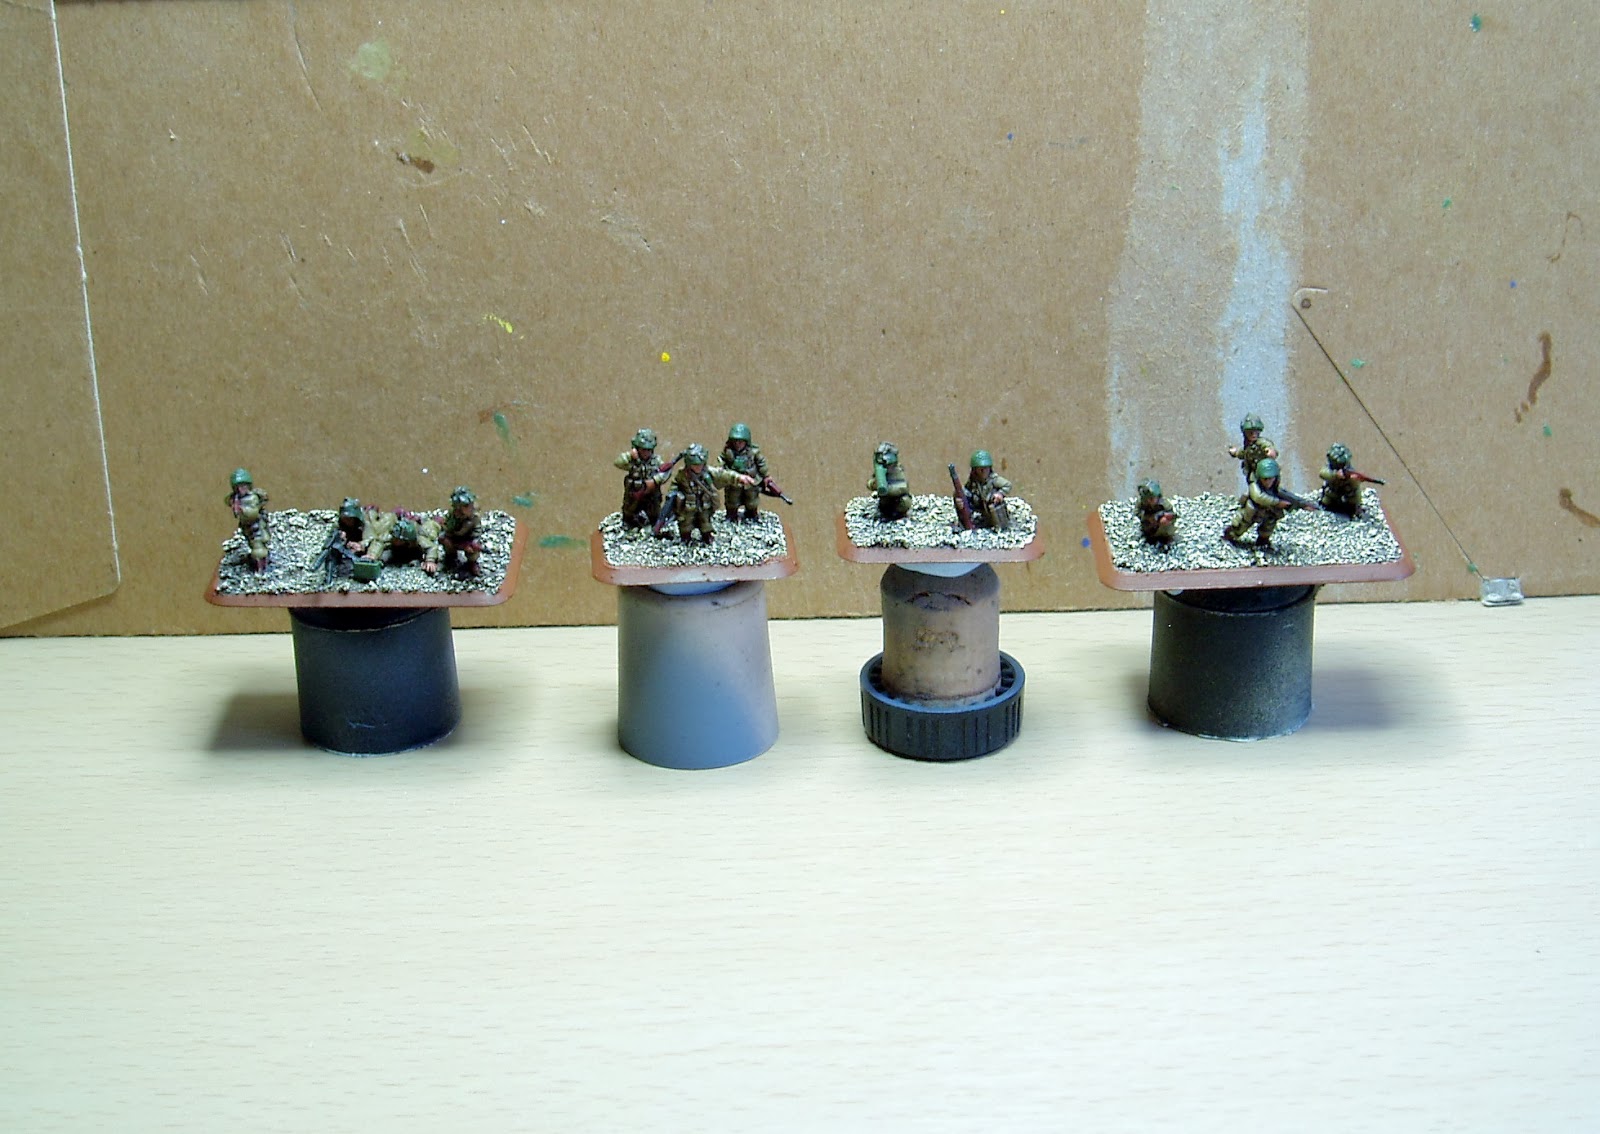
I decided to paint these models already stuck onto their bases and based. I hoped it would be easier than sticking them individually onto little cocktail sticks!
I based them with plain model sand and primed them grey.
Next I painted the base colours which I used form the GW range as time is an issue and I am not spending more money on paints..lol
After all the base colours were painted on I washed the entire model with a wash mix of 50/50 brown and black
Just need to apply the highlights and finish the base.
Vitor
Saturday, 27 July 2013
Flames of War - V1 Flying Bomb - Showcase
Here is my V1 set up in a terrain piece I made earlier, the field with crops using herbs.
Some other good news, my hobby stuff has arrived from overseas and I will be operational again in a few days!!
Vitor
Wednesday, 24 July 2013
Friday, 19 July 2013
Flames of War - V1 Flying Bomb - WIP
Now onto the actual flying bomb part. After painting it Field Grey I carefully applied a black/brown mix wash into the joints.
I then painted a slightly darker version of Field Grey over the top part as a base for the Camouflage, careful to leave the wash showing in the joints.
I mixed in a Dark Green to the Field Grey mix and applied a further coat to the top.
I then cleaned up the bottom with the original Field Grey base again careful to leave the wash showing in the joints.
Next up the finished product.
As mentioned previously I am eaking out my saved posts till I can get my hobby area up and running again.
Vitor
Saturday, 13 July 2013
Flames of War - V1 Flying Bomb
Next on my list to paint was my V1 Flying Bomb with Launch Pad. I started out with a black primer for both pieces.
Then I used Field Grey for the base coat of the V1 and a equal mix of my custom Middlestone and Chocolate Brown for the Launch Ramp.
I painted the Launch ramp next with a coat of Middlestone.
I then applied a Dark Brown Wash.
Using Middlestone again I cleaned up the Ramp leaving the wash in the recesses.
Next I painted the camouflage. The base brown camouflage was a 50/50 mix of Middlestone and Chocolate Brown and a 70/30 Chocolate Brown and Middlestone mix for the center part of the camouflage. The green was a 50/50 mix of Reflective Green and Middlestone as a base then a 70/30 mix of Reflective Green and Middlestone for the center of the camouflage.
Last was to finish with a drybrush of Bone or Ivory (not shown yet).
Next post, painting the V1.
Vitor
Tuesday, 14 May 2013
Flames of War - 5 Gebirgsjagerkompanie - My Army
Thanks to those that helped with information on my previous post. Based on this information and the digging around by myself I have decided to go with the 5 Gebirgsjager as my first army. While they are my second choice to Fallschrimjager, I can live with it as they fought alongside each other in Italy and in the FOW army list they can be included as a supporting unit, so I still get to play with them or collect and paint them up as unit.
The next reason is that with minimal greenstuff conversion, just backpacks, I can get away with using the 'Open Fire' starter set German models.
Here are the justifications. Examples from 'Osprey Publications'
Picture below shows soldier wearing steel helmet and carrying gas mask, albeit in mid-war. I know the Gebirgsjager preferred their Caps but in battle common sense prevailed and probably most wore helmets.
Picture below shows soldiers carrying gas masks in early-war and second picture steel helmet as well.
So not so far fetched that some would still carry gas masks in late war 'just in case'.
Now onto the painting scheme. Here are some examples from 'Osprey Publications' showing three variations.
The first is the classic uniform everyone seems to think of first,
the second and third is still valid but looks almost identical to a normal 'Heer' soldier except for the boots and backpack.
This is how I am going to paint up my soldiers, the guys with helmets will be painted up as example two with machine gun and the guys with caps will be painted up, some as example one and some as example three.
Glad I got this decided as I have just started painting the crew of my Pak40, they will be painted up as example two with the officer as example one since he has a jacket that looks similar the Gebirgjager jacket.
Vitor
The next reason is that with minimal greenstuff conversion, just backpacks, I can get away with using the 'Open Fire' starter set German models.
Here are the justifications. Examples from 'Osprey Publications'
Picture below shows soldier wearing steel helmet and carrying gas mask, albeit in mid-war. I know the Gebirgsjager preferred their Caps but in battle common sense prevailed and probably most wore helmets.
Picture below shows soldiers carrying gas masks in early-war and second picture steel helmet as well.
So not so far fetched that some would still carry gas masks in late war 'just in case'.
Now onto the painting scheme. Here are some examples from 'Osprey Publications' showing three variations.
The first is the classic uniform everyone seems to think of first,
the second and third is still valid but looks almost identical to a normal 'Heer' soldier except for the boots and backpack.
This is how I am going to paint up my soldiers, the guys with helmets will be painted up as example two with machine gun and the guys with caps will be painted up, some as example one and some as example three.
Glad I got this decided as I have just started painting the crew of my Pak40, they will be painted up as example two with the officer as example one since he has a jacket that looks similar the Gebirgjager jacket.
Vitor
Subscribe to:
Posts (Atom)
.jpg)